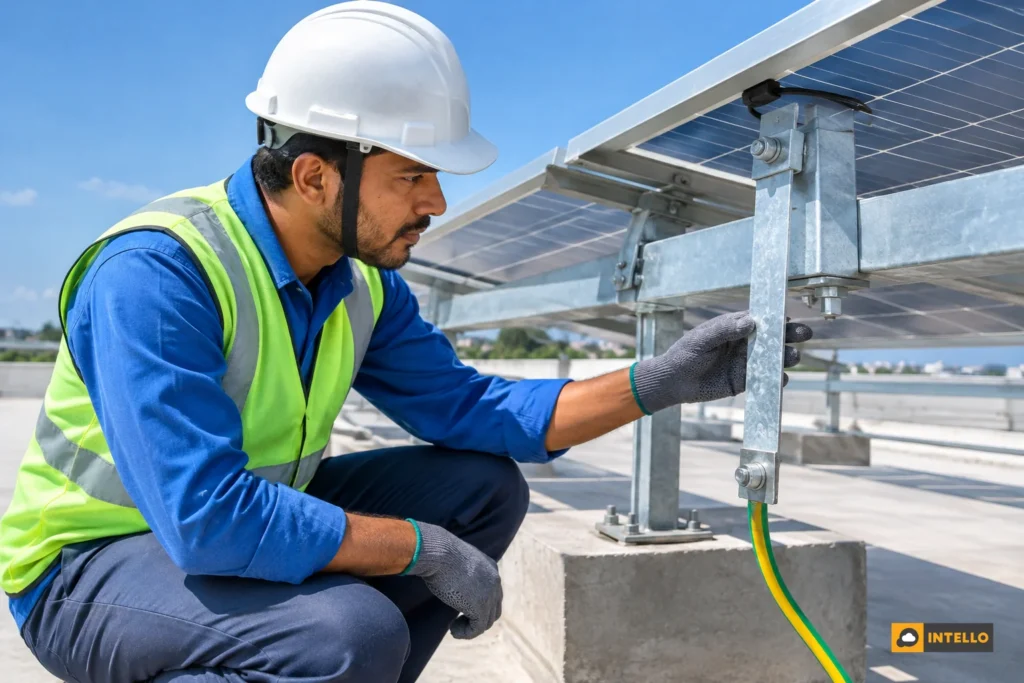
Solar earthing is the set of deliberate low-resistance connections that tie panel frames, mounting structures, inverters and cable shields to the ground. It gives fault current and surge energy a safe path, so protective devices trip and people are not shocked. On Indian rooftop and ground-mounted plants, it must be tested during routine maintenance, not only at commissioning.
Key Takeaways
- Purpose: earthing keeps exposed metal at a safe potential and lets faults clear quickly.
- Scope: module frames, structures, inverter bodies, AC/DC cabinets and surge protectors all need bonding.
- Common faults: corrosion, loose lugs, painted joints, dry pits and missing bonding after repairs.
- Testing: measure earth electrode resistance with a proper earth tester; MNRE guidance recommends keeping electrode resistance under 5 ohms.
- Decision rule: a rising reading, an unexplained earth-fault trip or visible damage means act before the next monsoon.
Solar Earthing at a Glance
| Item | What earthing does | What to check |
|---|---|---|
| Module frames | Keeps touchable metal safe | Bonding between frames, star washers |
| Mounting structure | Carries fault and surge current | Corrosion, bolted joints, continuity |
| Inverter | Protects electronics and operators | Earth terminal tightness, cable condition |
| SPDs and arresters | Divert surges to ground | Earth lead length, pit connection |
| Earth pits | Dissipate current into soil | Resistance reading, moisture, chamber cover |
| Records | Show trend over time | Date, soil condition, reading, tester used |
What Does Solar Earthing Do?
Solar earthing gives unwanted electrical energy a controlled path into the ground. It protects people from touching live metal, helps breakers and fuses disconnect during a fault, and limits damage to panels and inverters from lightning-induced surges and insulation failures.
A rooftop array puts metal frames, DC wiring and electronics in an exposed spot. Without a reliable path, a damaged cable can energise a frame and leave it live. The US Department of Energy notes in its guidance on operating and maintaining existing PV systems that regular site monitoring and attention to wiring and debris prevent failures.
For panels and structures
Module frames are bonded together and to the structure so no frame floats at a different potential. The structure then connects to earth electrodes. This equalises voltage across the array and gives a fault a route back to the protective device.
For inverters
Inverters have sensitive electronics. A good earth connection reduces surge damage and lets the inverter’s own earth-fault detection work. Repeated earth-fault trips often point to wiring or earthing issues rather than a faulty inverter.
For people
Technicians cleaning panels or opening cabinets rely on earthing for protection. A frame with a broken bond can look normal and still carry a dangerous voltage. That is why bonding checks belong in every visit.
Is Earthing the Same as Lightning Protection?
No. Earthing is the common ground connection; lightning protection is a separate system of air terminals, down conductors and surge protectors that discharges strikes into that earthing. Both depend on the same low-resistance electrodes, so a weak earth pit weakens everything connected to it.
In India, earthing is often called grounding by overseas vendors; the words mean the same thing here. Plants with lightning arresters should confirm the arrester’s down conductor reaches its own pit and that pits are bonded as the design requires. For design details, rely on the plant’s drawings and the applicable Indian standards, such as IS 3043 for earthing practice, and the MNRE’s guidance for solar PV installations.
Which Parts of a Plant Must Be Earthed?
Every exposed conductive part must be bonded: module frames, mounting rails and structures, inverter enclosures, AC and DC distribution boxes, cable trays, metal conduits and surge protection devices. Electrodes in the ground connect these to earth through properly sized conductors.
- Equipment earthing for all metal bodies.
- Earthing of DC-side and AC-side surge protectors.
- Structure earthing at defined intervals along long ground-mounted rows.
- Separate or bonded lightning earthing, as per the design.
The MNRE has published earthing guidelines for solar PV that recommend keeping electrode resistance below 5 ohms and using materials conforming to Indian standards. Always follow your plant’s design document where it is stricter.
Common Earthing Faults on Rooftop and Ground-Mounted Plants
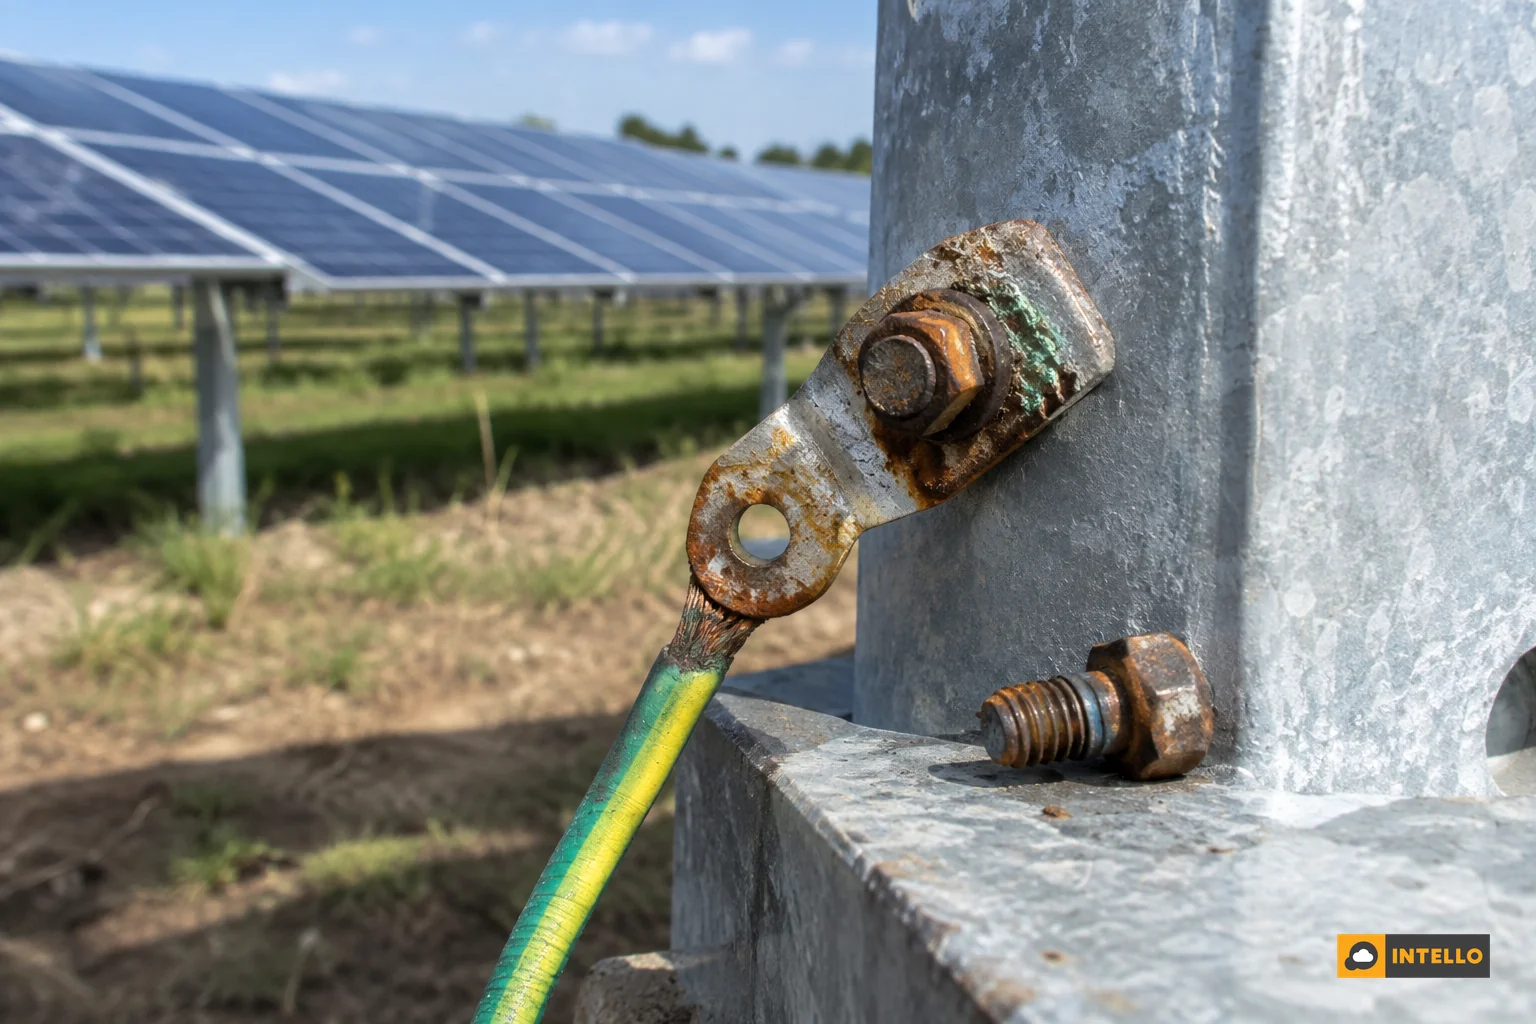
Most earthing problems are simple mechanical ones: loose, corroded, painted over, cut or never connected. They rarely show on a generation graph until an earth-fault trip or a surge damages equipment.
Rooftop plants
- Broken frame bonding after a panel was replaced and the earth lead was not refitted.
- Painted or coated joints where roof sheet or structure paint blocks metal-to-metal contact.
- Loose lugs from thermal cycling and vibration.
- Earth strip cut or damaged during roof repairs or waterproofing.
- Shared earth with other building loads without proper bonding.
Ground-mounted plants
- Corroded buried conductors in saline or wet soil.
- Dry earth pits in summer, where soil moisture drops and resistance rises.
- Stolen or damaged earthing strips along remote rows.
- Erosion exposing electrodes after heavy rain.
- Chamber covers buried or sealed, so pits cannot be tested.
Our guide to ground-mounted plant maintenance mistakes covers other site-team habits that let these faults persist.
How Is Earthing Resistance Checked in Maintenance?
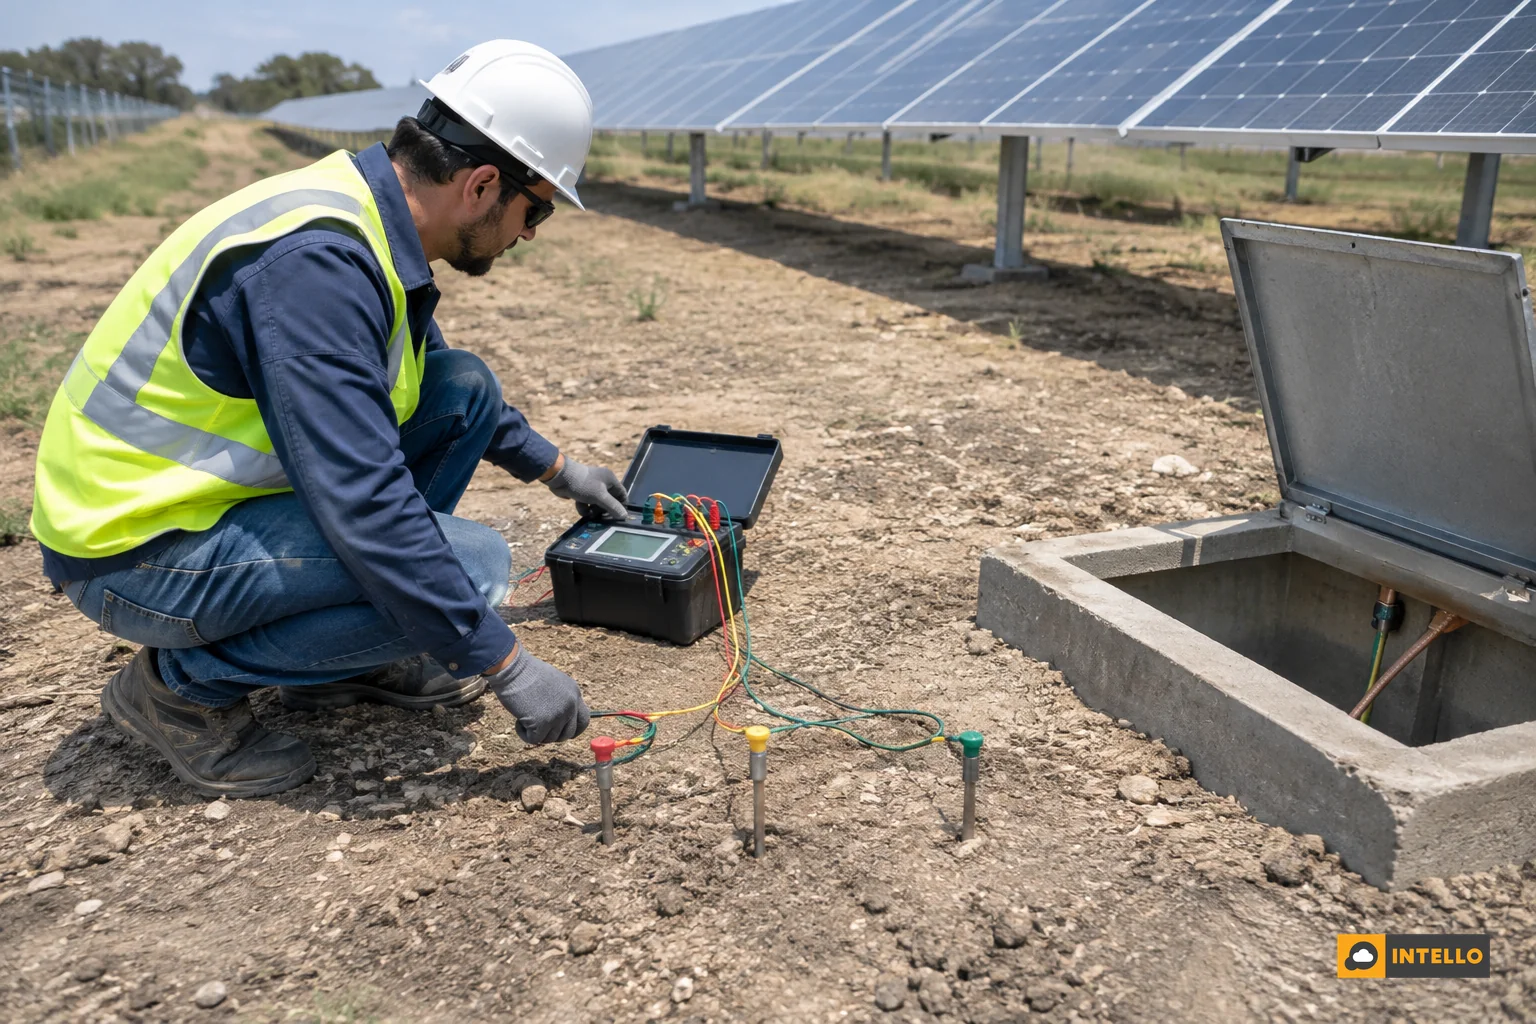
Earthing resistance is measured with a dedicated earth resistance tester, usually using the fall-of-potential method with two test probes driven into the soil. The electrode is isolated from the system, tested, and the reading is compared with the design value and previous records.
Step-by-step
- Plan the shutdown. Follow lockout procedures and isolate the electrode only as the site’s safety method allows.
- Open the pit chamber and inspect the electrode, clamp and conductor for corrosion.
- Disconnect the electrode from the grid if the method requires it, then set probes at the distances the tester’s manual specifies.
- Read the resistance and repeat with a shifted probe to confirm.
- Reconnect and tighten all joints, then test continuity from module frames to the pit.
- Record date, weather, soil moisture, instrument and value.
Continuity checks with a low-resistance ohmmeter between frames, structure and inverter body catch broken bonds that a pit test never sees. Only calibrated instruments should be used; a general multimeter is not a substitute for an earth tester.
Moisture matters. A reading taken after rain will look better than one taken at the end of summer, so compare like with like and note the conditions. If the value exceeds the design limit, treat it as a defect, not a trend to watch. Remedies include adding electrodes, treating soil with approved enhancement material, or watering during dry spells where designed.
A Practical Earthing Checklist for Routine Visits
- Check every visible earth lead for tightness, corrosion and mechanical damage.
- Confirm star washers or bonding jumpers at module and rail joints.
- Verify inverter and cabinet earth terminals.
- Inspect SPD indicator windows and their earth leads.
- Open pits, check moisture and connections.
- Test resistance on a schedule set by the plant’s O&M plan, and always before monsoon.
- Photograph work and log readings.
Pairing these checks with seasonal work is efficient; see the monsoon solar maintenance checklist for timing. Earth checks also belong inside a proper maintenance scope, as explained in what solar maintenance services in India include.
When Should You Escalate an Earthing Problem?
Escalate immediately if a frame gives a tingle, an inverter repeatedly trips on earth fault, a reading exceeds the design limit, or earthing conductors are missing or burnt. These are safety issues. Stop work on that section and call a qualified electrical contractor or O&M provider.
One point remains unsettled in practice: how often to test. Indian guidance does not give one answer for every site, so the interval should follow the plant design, soil, lightning exposure and insurer or lender requirements. Our view: test at least before each monsoon and after any major structural or roof repair.
FAQ
How often should solar earthing be checked?
Visual checks suit every maintenance visit, with resistance tests at least before monsoon and after repairs. High-lightning or corrosive sites may need more frequent testing.
Can I test earthing myself?
Visual checks, yes, with the plant isolated and safe. Resistance testing needs a calibrated earth tester and trained staff, so use a technician.
Does poor earthing reduce solar generation?
Not directly, but it causes earth-fault trips, nuisance shutdowns and surge damage that cut generation and raise repair cost.
Is solar maintenance covering earthing?
A good scope should. Ask for earth checks and readings in the service report.
Get Earthing Checked as Part of Routine O&M
Earthing is cheap to maintain and expensive to ignore. Intello’s technicians include bonding and earth checks in their solar maintenance service; request a quote to have your rooftop or ground-mounted plant inspected, with photo-verified reports. You can also read about Intello’s team or use the portal login if you are an existing customer.